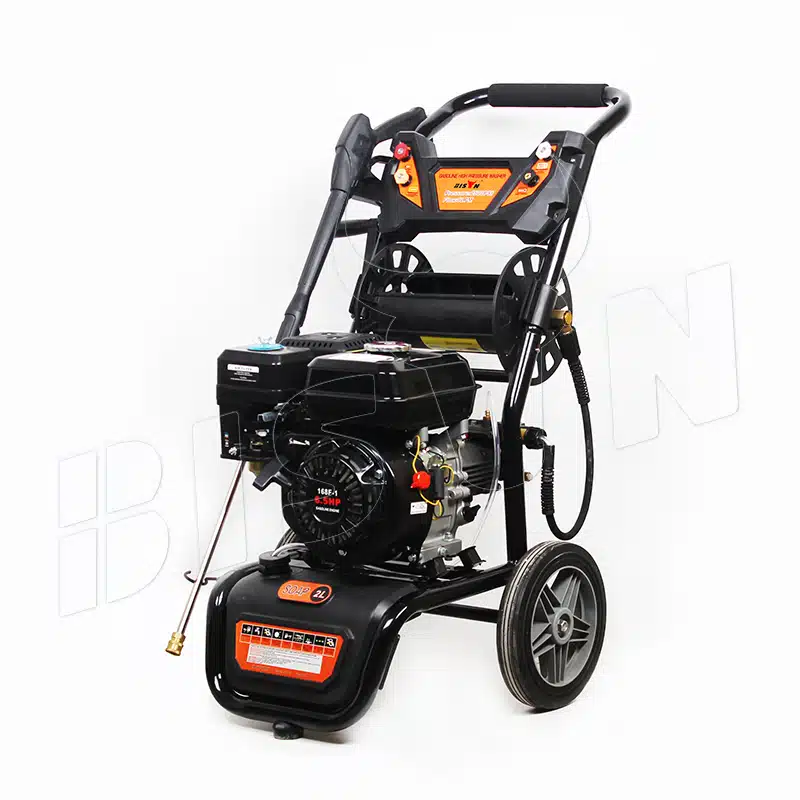
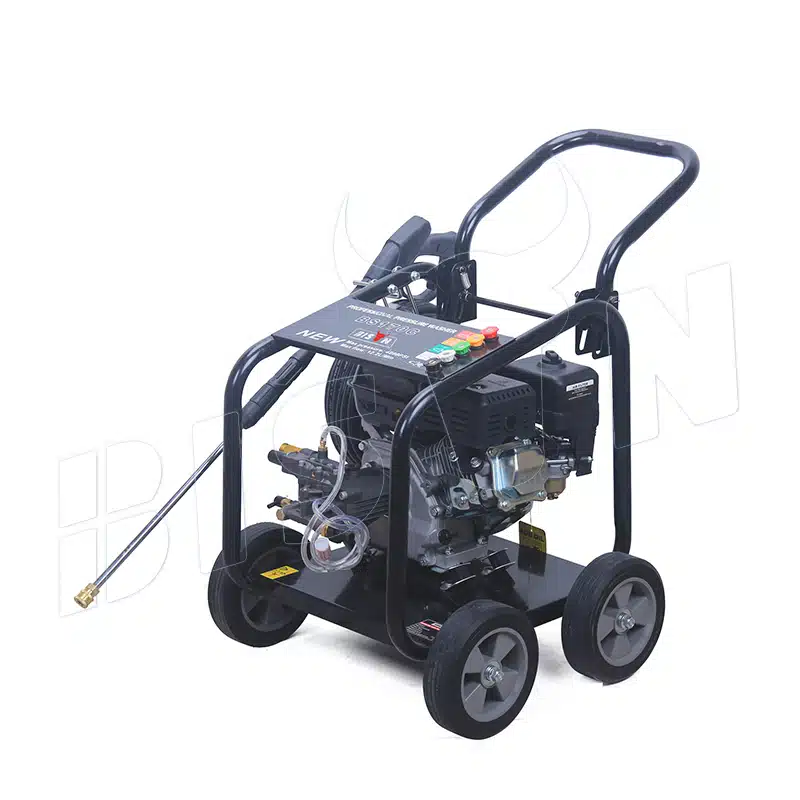
BISON Santy
Hello, I am Santy, the funder of bisonclean.com. I have been in cleaning machinery field for more than 5 years now, and the purpose of this article is to share with you the knowledge related to pressure washer from a Chinese supplier's perspective.
Table of Contents
Pressure washers are handy cleaning tools. They are commonly used in residential and commercial settings to clean driveways, homes, vehicles, and boats, and these different cleaning tasks require different water jet patterns and pressures. That’s why we need this change of pressure washer nozzle. Changing the nozzle of your pressure washer can drastically transform your cleaning efficiency. As a dedicated pressure washer manufacturer, BISON has extensive experience in pressure washer. In this article, we will show you how to replace a pressure washer nozzle step by step. So start reading!
Types of pressure washer nozzles
Before purchasing a new pressure washer nozzle (or set), it is essential to understand that they are only sometimes universal. Even nozzles of the same color and angle come in multiple sizes. The pressure washer has different flow and pressure specifications, which determines the selection of different nozzle sizes.
The following are the pressure washer nozzles commonly used in daily life: 0-degree nozzle, 15-degree nozzle, 25-degree nozzle, 40-degree nozzle, soap nozzle, and rotating nozzle. Pressure washer nozzles come in different colors, each signifying a different spray pattern and pressure. They often range from a narrow, high-pressure 0° (red) pattern, to a wide, low-pressure 40° (white) pattern. The black nozzle typically serves as a soap dispenser. If you want to know more about BISON pressure washer nozzle types, please read the “pressure washer nozzles choosing guide”.
Steps to change the pressure washer nozzle
Step 1: preparations before changing the nozzle
- Gather necessary tools and materials: Nozzle, wrench, rag, user manual.
- Wear protective equipment: Gloves protect you from getting dirty and scratched; goggles block damage from high-pressure water or debris; clothes of a certain thickness resist splashing dirt and water pressure.
Step 2: prepare your pressure washer
Before you begin changing the nozzle, always ensure your pressure washer is turned off and the water source is disconnected. This helps avoid accidental spraying and increases safety. Locate the power switch or button on your pressure washer. It is usually located on the control panel or near the handle.
Step 3: remove the old nozzle
Locate the nozzle on the end of the pressure washer wand or gun. It is usually threaded at the end. Hold the wand of your pressure washer securely and twist the old nozzle counter-clockwise, it should loosen quite easily. If the nozzle is tightly secured, use a wrench or unique removal tool to loosen it.
It’s important to note that some pressure washers may have a quick-connect system, where the nozzle is attached to a quick-release mechanism rather than threaded. In such cases, you can easily take out the nozzle by squeezing the side release tabs and pulling it out.
After safely removing the nozzle, clean the surface with a cloth to ensure the connection is clean and free of debris.
Step 4: attach the new nozzle
Once you’ve chosen the right nozzle for your task, it’s time to reattach it to the pressure washer wand or pressure washer gun.
Follow these steps to reattach the nozzle properly:
- Ensure the nozzle and the threads on the spray wand or gun are dry and free of debris.
- Align the threads on the nozzle with the corresponding lines on the spray wand or gun.
- Press the nozzle onto the spray wand or gun and rotate it clockwise.
- Continue rotating the nozzle clockwise until it is secure and tight. Take care not to overtighten as this could lead to harm.
- Gently shake the nozzle to confirm that it is properly sealed with no looseness or gaps.
Notice: It is essential to ensure the nozzle is attached correctly when using a pressure washer to prevent any leaks or changes in the spray pattern. Always double-check that the nozzle is securely tightened before operating the machine.
Step 5: restart the pressure washer
After you’ve successfully secured the nozzle, it’s essential to restart the machine to ensure everything works properly. Remember to always stand at a safe distance when you first test the pressure of the new nozzle.
Experiment with different spray patterns using the appropriate nozzle. Start with a wide spray pattern and progressively move to a narrower way to gauge pressure and coverage. Check for leaks around nozzle connections and verify spray pattern is consistent with nozzle type.
Pay attention to any unusual sounds or vibrations that may indicate a problem with the pressure washer. If everything works correctly, continue using the pressure washer for your desired cleaning tasks.
Common problems and solutions
Even if it is properly installed, problems may still occur with your pressure washer nozzle. Here are some common problems and solutions compiled by BISON.
Nozzle connection leaks
- O-ring is worn or damaged: Replace with a new O-ring and lubricate properly.
- The nozzle is improperly installed: Reconnect again according to the replacement steps above.
- Clean the connection area: Thoroughly clean the debris or corrosion in the spray bar and nozzle connection area and reconnect.
Poor spray pattern
- The nozzle is not compatible with the pressure washer: Refer to the user manual or manufacturer’s guide to select the appropriate nozzle size and model.
- Incorrect installation method: Reconnect, and pay attention to thread alignment when connecting.
Conclusion
Learning to change the pressure washer nozzle is the key to fully mastering high-pressure cleaning. The right nozzle not only ensures the cleaning effect but also prevents the high-pressure washer from being subjected to unnecessary pressure, thereby reducing the chance of failure. BISON believes that you have fully mastered this skill through this article, so hurry up and try to change it!
BISON is a well-known pressure washer manufacturer in China. Each product we provide will undergo strict quality inspection and fully meet the high-intensity cleaning needs in extreme working environments. Not only that, we don’t skimp on details. When you open the equipment, you will find that we have installed protective parts in every corner. We also provide specialty product customization, exclusive customer service, and technical support, so you will have the resources and help you need to achieve optimal performance. Invest in BISON now and improve your industry reputation!
FAQs about change the pressure washer nozzle
The disassembly and cleaning of the pressure washer nozzle should be determined according to your cleaning needs:
- Change of season: Before spring cleaning or winter storage, a thorough cleaning is required.
- Decreased performance: If performance is reduced or the spray pattern is inconsistent, the nozzle may be clogged or dirty and needs cleaning.
- Type of work: If the washer is used in a particularly dirty environment, it should be disassembled and cleaned frequently. Cleaning may be completed every 20-25 hours of use to maintain optimal cleaning efficiency.
Yes. But you have to make sure the pressure washer and nozzle match each other.