BISON Santy
Hello, I am Santy, the funder of bisonclean.com. I have been in cleaning machinery field for more than 5 years now, and the purpose of this article is to share with you the knowledge related to pressure washer from a Chinese supplier's perspective.
Table of Contents
A sparkling clean swimming pool is more than just a visual pleasure – it’s a fundamental requirement for both health and enjoyment. Over time, pool tiles can become dirty and accumulate various forms of buildup, including algae, calcium deposits, mineral stains, and general grime. Not only does this unsightly buildup detract from the appearance of your pool, but it can also pose a health risk to swimmers.
Pools are typically large and come in all shapes and sizes. Traditional cleaning methods often require days of manual scrubbing with brushes and harsh chemicals, which is time-consuming and can damage your pool’s surface. Fortunately, this is where the power and efficiency of a pressure washer can be most effective. This comprehensive guide will walk you through the steps to restore your pool tile to its original glory using a pressure washer.
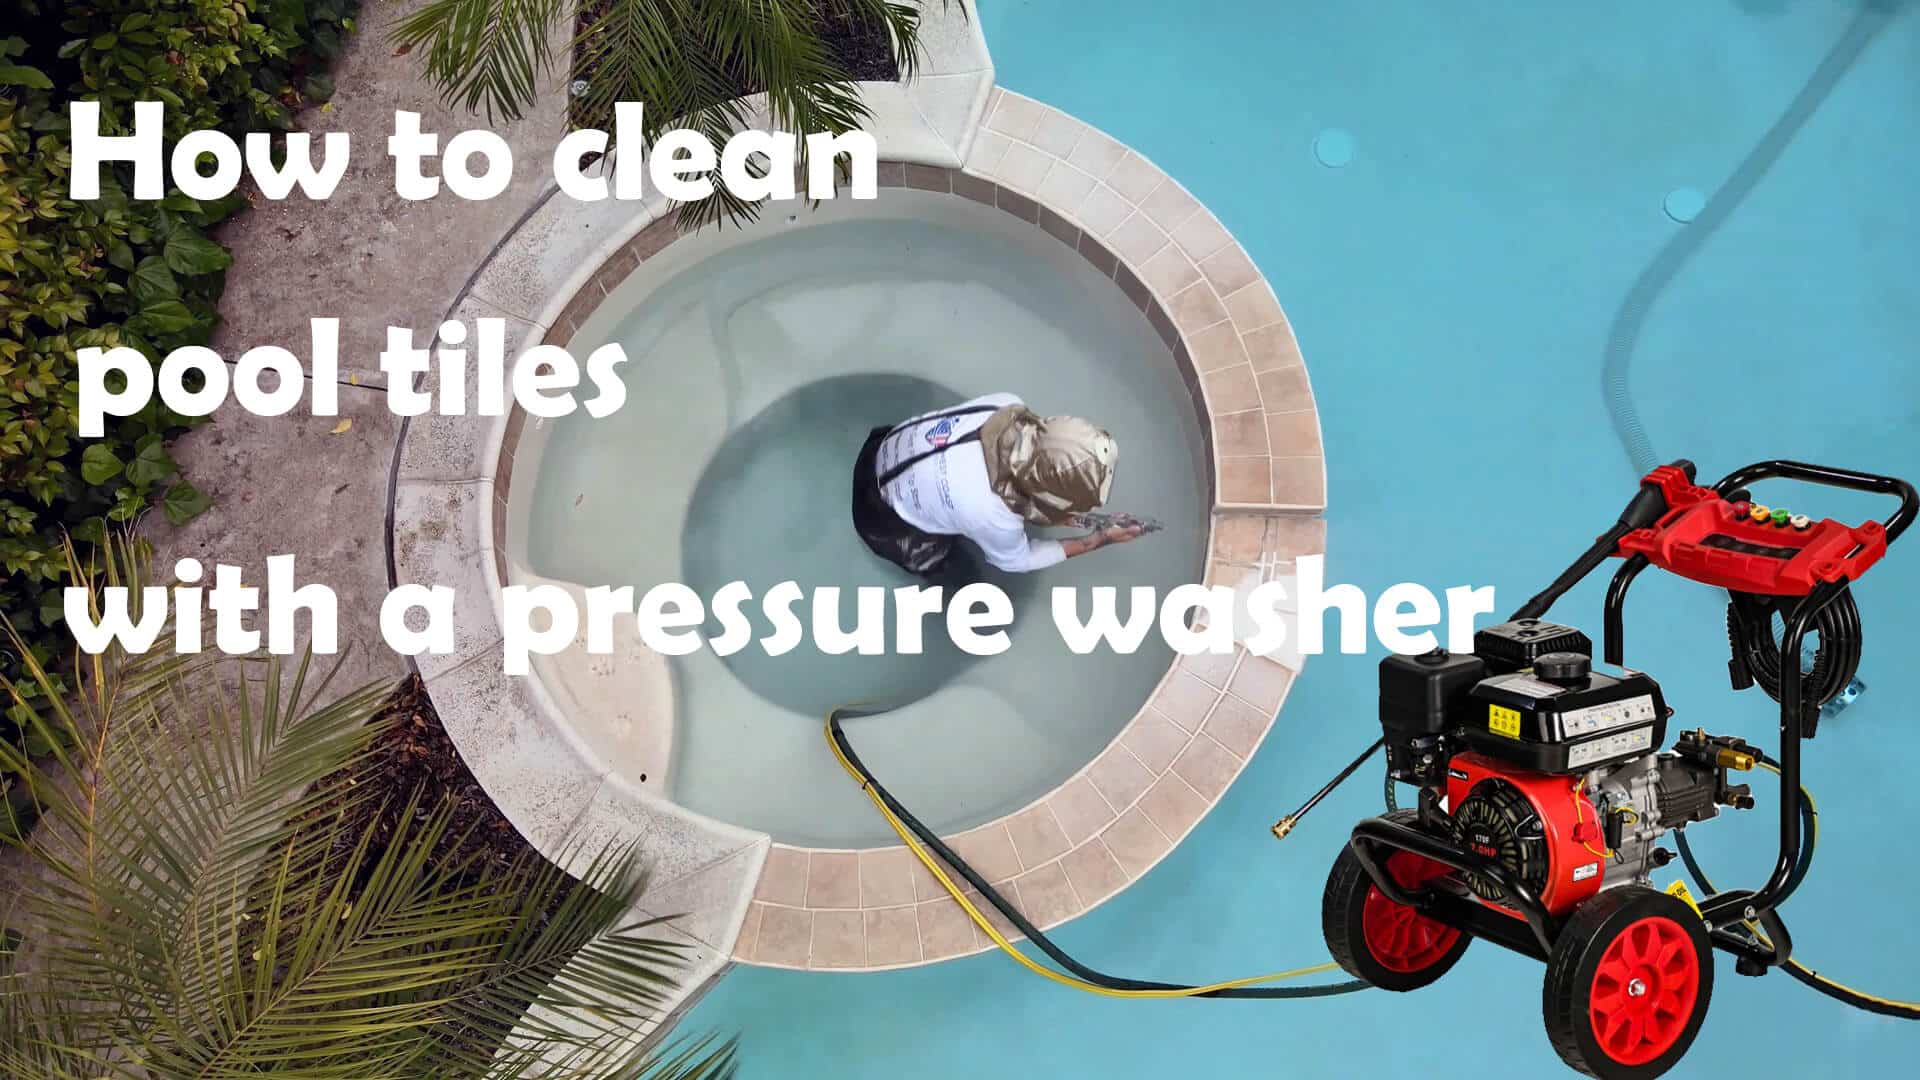
Why use a pressure washer to clean pool tiles?
Advantages of pressure washing pool tiles:
- High efficiency: Compared with manual scrubbing, the pressure washer will reduce cleaning time by up to 75%. Its mechanical power provides consistent cleaning power for all surfaces, deep into grout lines and gaps that brushes cannot reach.
- Cost-effectiveness: The pressure washer uses more high-pressure water impact and requires less expensive chemical cleaners. For ordinary family pools, it can usually be completed by one person, minimizing labor costs.
- Versatility and effectiveness: Adjustable pressure settings can cope with different types of dirt. Common types of daily pollutants can be effectively removed, even cleaning waterlines and underwater tiles.
Common pool tile problems addressed by pressure washing:
- Calcium deposits: This is a white, crusty deposit at the waterline. Over time, this scale formation becomes increasingly difficult to remove, and if not treated in time, the mineral deposits will permanently erode the tiles.
- Biological contaminants: Algae growth, mold, mildew, or bacterial biofilm formation on grout lines and tile surfaces.
- Environmental debris: Deal with sunscreen and oil residues, dirt and dust accumulation, or organic matter accumulation.
Risks of neglecting pool tiles:
- Health and safety hazards: algae growth leads to slippery surfaces and pools containing bacteria can cause skin irritation affecting swimmers’ health.
- Structural damage: reduced adhesion of grout and tiles, increased risk of tile delamination, and potential water damage to underlying structures.
- Financial impact: higher costs for eventual deep cleaning and risk of premature tile replacement. Increased chemical treatment requirements to remove stubborn dirt when cleaning.
Steps on how to clean pool tiles with a pressure washer
Step 1: Equipment preparation
Safety equipment
Safety first, Prepare goggles, chemical-resistant gloves, closed-toe non-slip shoes, long-sleeved protective clothing, and a respirator (if using chemical cleaners).
Choose your pressure washer
Choose a pressure washer based on your needs. Usually, a 2000-3000 PSI pressure washer can meet most pool tile cleaning needs.
In addition, you need to equip it with a 15-40 degree fan nozzle, a pool-appropriate cleaning solution, a soft-bristled high-pressure cleaning brush attachment, and an extension pole to enhance the cleaning effect.
Step 2: Pool preparation
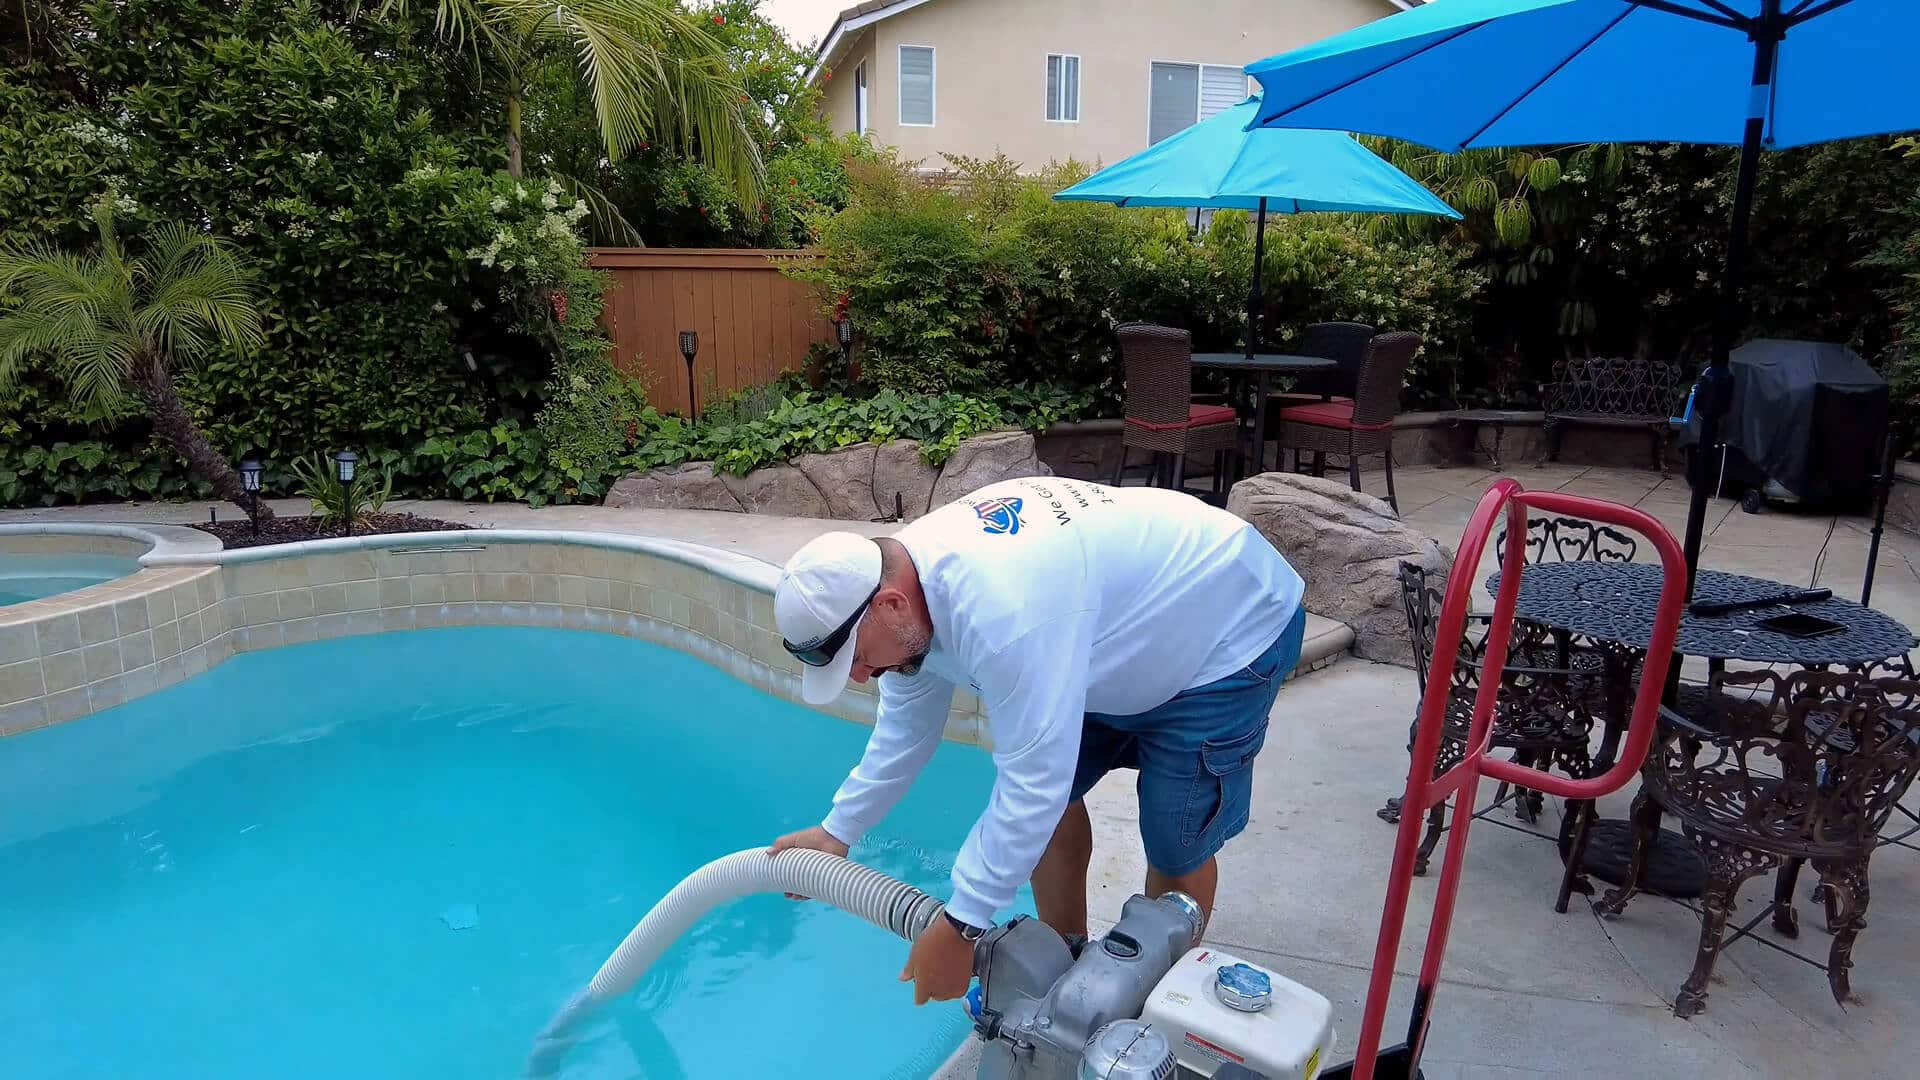
Don’t rush to empty the whole pool – that’s a rookie mistake. Keep it simple: drain just enough water to expose 6-12 inches below the tile line. This sweet spot gives your pressure washer room to work without destabilizing the pool structure. Pro tip: Check your local wastewater disposal rules before flipping that drain switch – some areas require special treatment.
Before firing up the pressure washer:
- Clear the battlefield: Remove pool toys, cleaning gear and floating debris
- Power down & protect: Use waterproof covers on nearby outlets
- Mark fragile zones: Apply protective tape along grout lines and delicate tiles
Step 3: Pool tile inspection
Before using any cleaning solution or pressure, you should inspect your pool tiles. Look for cracks, chips, or loose tiles to mark. Pay special attention to the waterline area where calcium deposits and stains are most common and mark them as well. Note any existing damage and treat it especially when cleaning to prevent further damage to the damaged area.
Step 4: Cleaning solution application
Protect your pool and your health by using an environmentally friendly, non-toxic cleaner designed for pool tiles. Apply the appropriate pool-safe cleaning solution in a bottom-up sequence. Allow the solution to remain on the surface for 5-10 minutes, but do not allow it to dry completely. If necessary, keep the surface moist by spraying with water periodically. If you need to get the best cleaning quality, wash in sections to maintain the proper solution concentration and effectiveness.
Step 5: Pressure washer pressure test
Connect the pressure washer to a water source and assemble the nozzle. Test the water pressure starting at the lowest pressure setting. Test your setting on a small, inconspicuous area for about 30 seconds first to assess the impact. Carefully inspect the tile or grout for signs of damage. If so, reduce the pressure. You can also adjust the cleaning pressure to the appropriate level by changing the distance from the tile.
Step 6: Systematic cleaning approach
When you start cleaning, adjust the pressure washer pole to about 45 degrees from the tile surface, which is the angle that minimizes the risk of damage and is most efficient. Clean in an even, overlapping manner to ensure complete coverage. When cleaning corners and edges, reduce the pressure and change accessories (cleaning brushes, extension poles, etc.) to avoid damage to delicate areas.
Step 7: Stubborn stain treatment
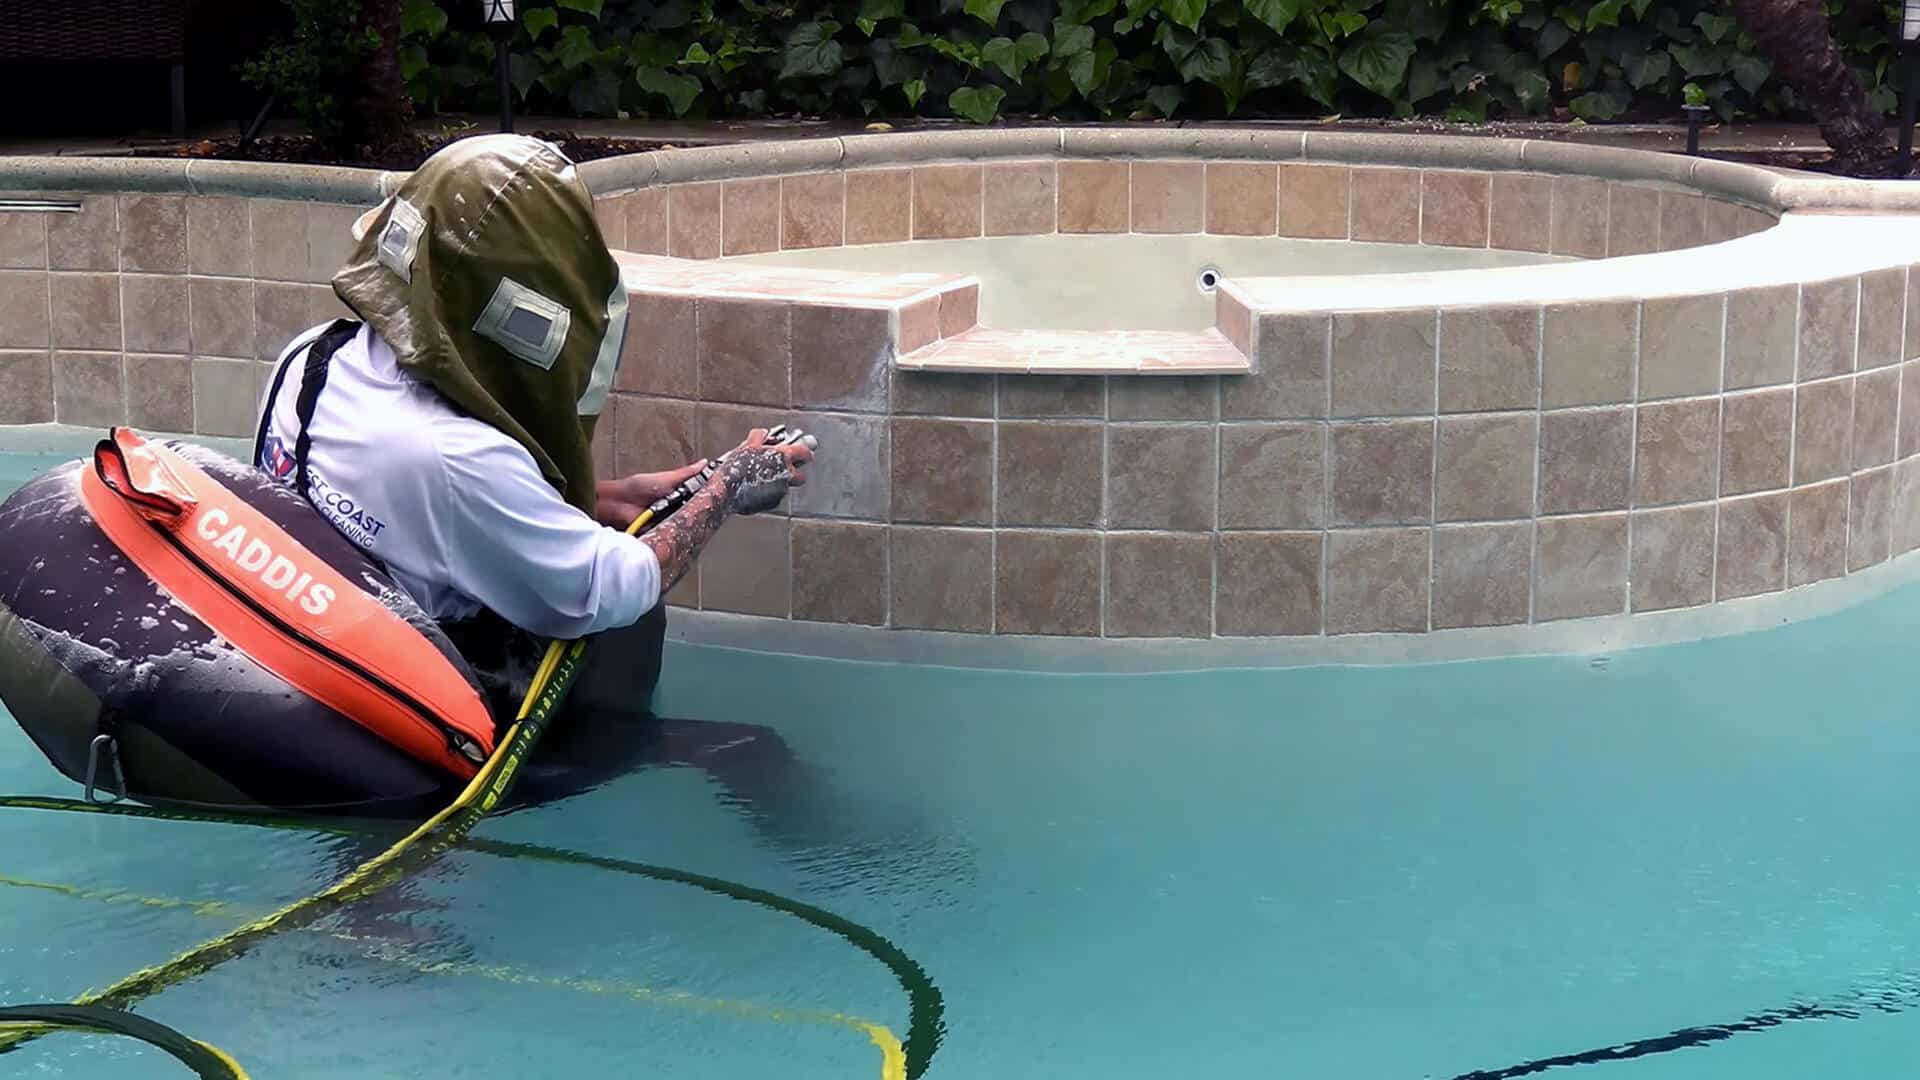
For areas affected by calcium, algae, or mold, take more time. Start with a pool cleaner designed for stubborn stains or a vinegar solution, let the cleaner penetrate for a few minutes, and then gently scrub with a soft brush to break up the deposits. Finally, carefully pressure wash, maintaining the appropriate distance and angle. For extremely stubborn deposits, you will also need to repeat this process several times, always be vigilant against damage.
Step 8: Final rinse
Rinse Thoroughly Using clean, fresh water, work the cleaned pool surface from top to bottom, especially around corners and grout lines, until the water runs completely clear.
Conclusion
As we have explored in this guide, pressure washing represents a revolutionary approach to pool tile maintenance, providing residential and commercial pool owners with an efficient, thorough, and affordable solution, by learning the steps of how to clean pool tiles with a pressure washer, from choosing the right cleaning agent to cleaning methods. Dealers will definitely understand the advantages of pressure washers.
As a trusted pressure washer company in China, BISON is committed to providing the best quality products and accessories. We not only strictly inspect our products before they leave the factory, but also set up protection measures for every detail. You can understand BISON’s professionalism by disassembling any pressure washer. Contact BISON now to protect your pool investment!
FAQs about clean pool tiles with a pressure washer
Pool tiles are usually made of ceramic or porcelain, and if you strictly follow the cleaning steps provided by BISON, the pool will be very safe. For delicate materials such as natural stone, please use lower pressure or other cleaning methods and be careful.
If you use your pool frequently, clean it with a pressure washer every 2-3 months. Seasonal pools need to be cleaned twice a year (when they open and close). Year-round pools can be maintained once a quarter.
You might also enjoy
Questions?
Contact Us Today.
Find more?
Related Posts
Pressure washer is surging/pulsing
we’ll help you understand why your pressure washer is surging and guide you through easy steps to fix it so you can get back to
How pressure washing can help with oil field cleaning
This article will show how pressure washing can provide a cleaning solution for the oilfield industry and explore its benefits and applications.
Pressure washing vs. traditional cleaning methods
In this article, BISON will take an in-depth comparison of pressure washing vs. traditional cleaning methods to highlight their pros and cons.
Why is my pressure washer smoking
This blog will help you understand the common reasons why your pressure washer may smoke. In the end, you’ll learn what the smoke could mean
