Hi, I am Yanki, the founder of bisonclean.com. I have been in the cleaning equipment field for more than 5 years now, and the purpose of this article is to share with you the knowledge related to cleaning equipment from a Chinese supplier's perspective.
Pressure washing is an effective, efficient, and environmentally-friendly method of cleaning various surfaces, particularly driveways. If you’re a pressure washing distributor or a pressure washer dealer, understanding the process in depth can help you provide better service to your customers and sell the right equipment. This comprehensive guide will walk you through all the steps and precautions you need to know.
Why Pressure Wash Your Driveway?
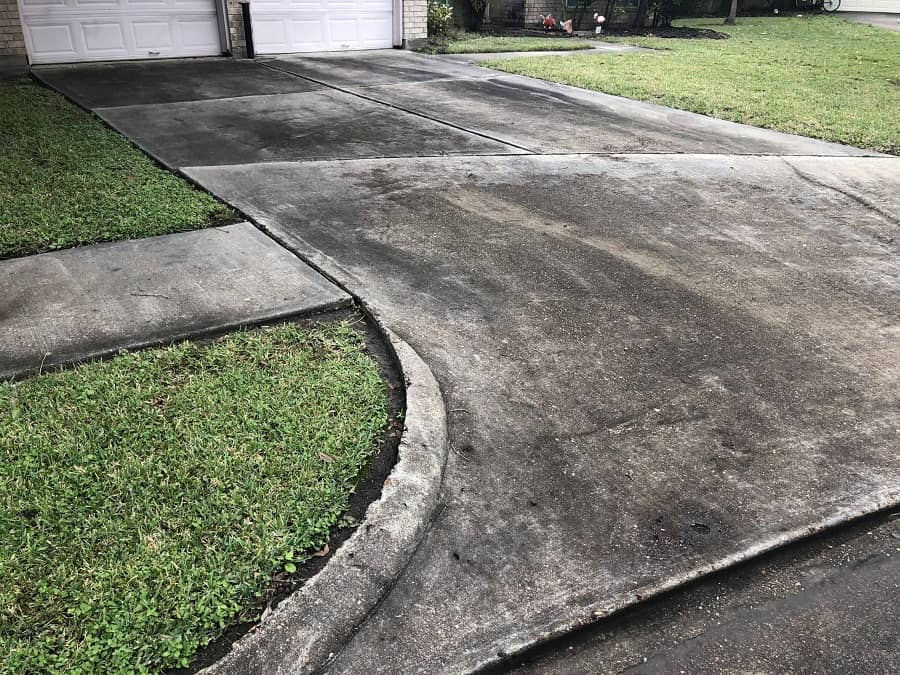
Driveways are frequently exposed to various elements, including dirt, oil, grime, and even algae. Over time, these contaminants can stain and damage the driveway, affecting its aesthetics and durability. Regular pressure washing not only keeps driveways looking fresh and clean but also extends their lifespan by preventing the buildup of harmful substances.
A well-maintained driveway can significantly enhance a property’s curb appeal, increasing its value. Therefore, pressure washing services are in high demand among homeowners, making it a profitable service for pressure washing companies to offer.
Safety First: The Importance of Precautions
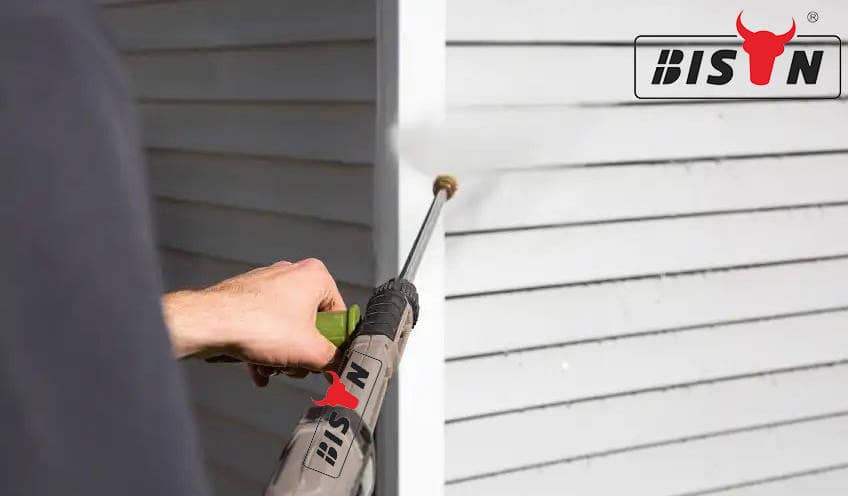
Safety should always be the top priority when using a pressure washer. Here’s an expanded list of safety measures to adhere to:
Protective Gear: Always wear safety glasses and gloves. Consider wearing sturdy footwear and long pants to protect your legs and feet from any flying debris. A waterproof jacket can also keep you dry during the process.
Avoid Direct Contact: Never point the nozzle at people or animals. The water stream from a pressure washer is powerful enough to cause serious injuries.
Control the Pressure: Be careful not to over-pressurize the surface. Too much pressure can damage the driveway, causing cracks or dislodging pieces of concrete or asphalt.
Secure the Surroundings: Make sure the area around the driveway is clear. Secure loose objects that could potentially be moved or damaged by the pressure washer.
Handle Chemicals with Care: If you’re using a cleaning solution, handle it with care. Follow the manufacturer’s instructions regarding its use and storage, and ensure it doesn’t come into contact with your skin or eyes.
Step 1: Preparing the Driveway – The Key to Effective Cleaning
Before you start pressure washing, prepare the driveway properly. Remove any furniture, vehicles, or other objects from the driveway. Use a broom or leaf blower to sweep away loose dirt, leaves, and other debris.
For stubborn stains like oil or grease, consider applying a driveway cleaning solution before pressure washing. These specialized solutions are designed to break down tough stains, making them easier to wash away. Make sure to let the solution sit on the stain for the recommended amount of time before washing.
Step 2: Choosing and Attaching the Right Nozzle
Choosing the right nozzle is crucial to effective pressure washing. Most pressure washers come with several different nozzles, each designed for a different type of cleaning job.
For general cleaning, such as removing dirt or mildew, a 25-degree nozzle is usually the best choice. This nozzle provides a wide spray that covers a large area, making it perfect for cleaning large, flat surfaces like driveways.
If you’re using a cleaning solution, you’ll need to switch to a soap nozzle. This nozzle has a larger opening that allows the pressure washer to draw in the cleaning solution and mix it with the water.
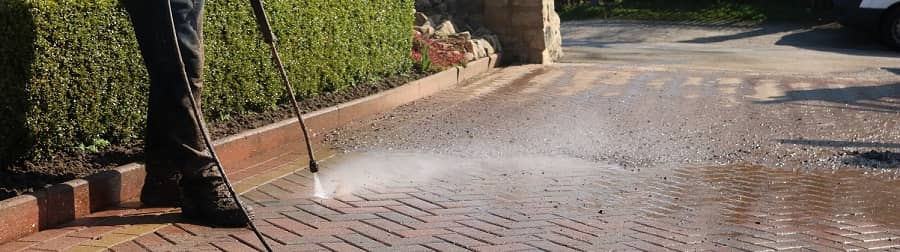
Step 3: Mastering the Art of Pressure Washing
To start pressure washing, turn on the unit and adjust the pressure setting. Start with a low setting and increase it as needed. Remember, too much pressure can damage the driveway, so it’s better to start low and gradually increase the pressure if necessary.
When you’re ready, start pressure washing at one end of the driveway. Use a sweeping motion, working your way across the driveway. Keep the nozzle moving at all times to avoid focusing the water pressure on one spot for too long, which could damage the surface.
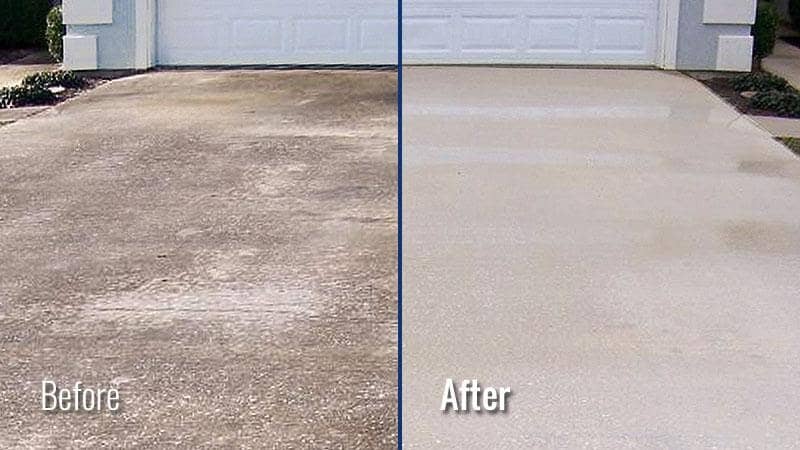
Step 4: The Final Rinse
Once you’ve finished pressure washing, it’s time for the final rinse. This step is essential to remove any residual dirt, debris or cleaning solution from the driveway. Use clean water and make sure to cover the entire driveway. Allow it to dry completely before using it again.
Additional Tips for a Perfectly Clean Driveway
Here are some additional tips to help you get the most out of your pressure washing experience:
Frequency: If the driveway is in good condition, a yearly pressure wash may be sufficient. However, if the driveway gets dirty quickly or has stubborn stains, more frequent cleaning may be necessary.
Type of Pressure Washer: For small driveways or areas, a handheld pressure washer should suffice. For larger driveways, a walk-behind model will be more efficient and less tiring to use.
Pressure Settings: Concrete driveways can withstand higher pressure settings, while asphalt driveways require a lower pressure setting to prevent damage.
Pre-Cleaning Repairs: If there are any cracks or holes in the driveway, repair them before pressure washing. Water from the pressure washer can seep into these areas and cause further damage.
By following this comprehensive guide, you’ll be able to pressure wash a driveway safely and effectively. Whether you’re a pressure washing company looking to improve your service or a dealer aiming to provide better advice to your customers, understanding the process in detail is key.
How can you ensure that you're using your pressure washer effectively and safely? Bison here to help! This detailed guide will walk you through the ...