BISON Santy
Hello, I am Santy, the funder of bisonclean.com. I have been in cleaning machinery field for more than 5 years now, and the purpose of this article is to share with you the knowledge related to pressure washer from a Chinese supplier's perspective.
Table of Contents
Pressure washer sandblasters are powerful and versatile tools that make tough cleaning jobs easier and faster. They inject abrasive media into a high-pressure water stream, producing a wet abrasive blast that removes rust, paint, and surface coatings far more efficiently than water pressure alone. By equipping a pressure washer with a sandblaster attachment, you customers can further enhance its cleaning power and remove stubborn deposits more efficiently.
A pressure washer sandblaster generates a powerful stream of abrasive particles by mixing them into the water flow, achieving a cleaning efficacy far superior to that attainable through rinsing with plain water alone. In this guide, we will introduce you to how to use a pressure washer sandblaster, covering the equipment’s working principles as well as various practical tips.

Pressure washer sandblaster
Pressure washer sandblasters are versatile tools for cleaning various surfaces, including concrete, brick, metal, wood, and masonry. They are commonly used to remove paint, rust, grease, graffiti, and other stubborn stains or coatings.
A pressure washer sandblaster works by mixing water with abrasive sand, creating a powerful cleaning stream that is much stronger than water alone.
Choosing the right equipment
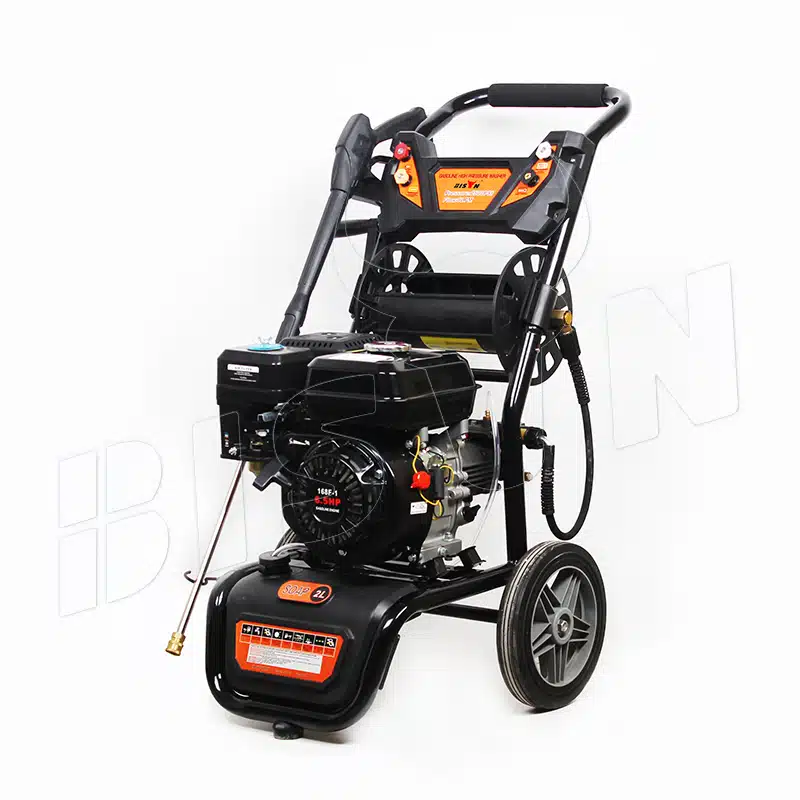
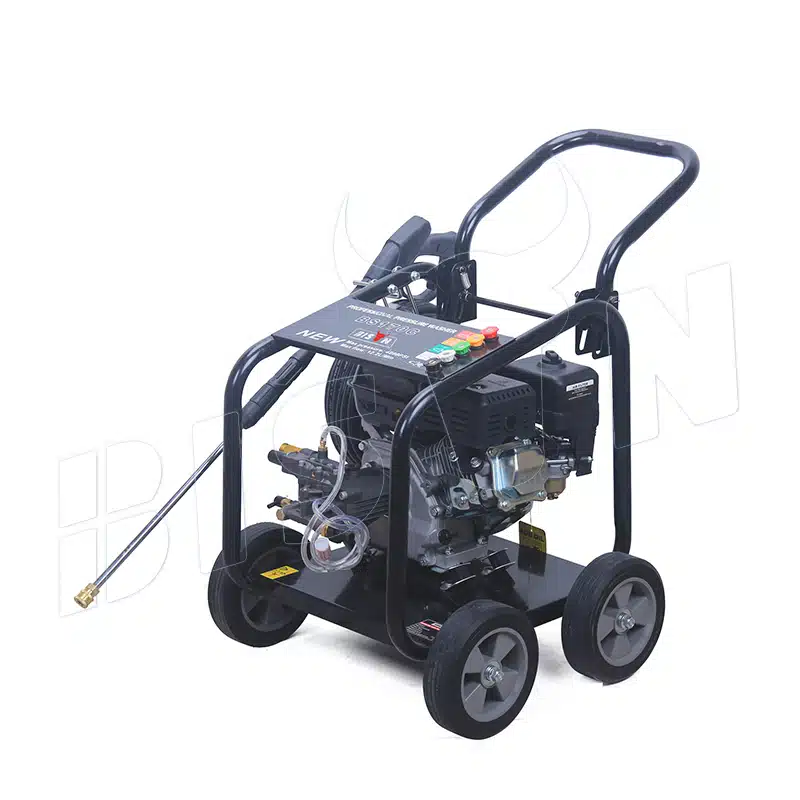
Pressure washer
To ensure effective sandblasting results while avoiding damage to the equipment, a minimum of 2,500–3,000 PSI is recommended. Higher PSI provides more cleaning power but requires careful handling.
Consider the flow rate (GPM). A higher flow rate carries more abrasive material and cleans surfaces faster. A minimum of 2.5 GPM is ideal for thorough cleaning.
Sandblasting attachment
Select a sandblasting attachment designed for pressure washers.
- Check that the attachment has a mixing chamber, nozzle, and abrasive container.
- Ensure compatibility with your pressure washer’s wand or lance. Quick-connect fittings make installation easier.
- Look for adjustable controls to regulate the water and abrasive flow for task-specific intensity.
There are two main types of sandblasting attachments:
- Venturi systems: Use air suction to mix sand with water outside the nozzle. Best for PSI 2,500–3,000 and moderate flow rates. Easy to use and ideal for smaller jobs or lighter abrasive materials.
- Direct injection systems: Feed sand directly into the water stream inside the nozzle. Require higher PSI and GPM, making them better for heavy-duty cleaning. Can handle more abrasive material and produce a stronger, more consistent blast.
Abrasive materials
- Sand: Classic abrasive, ideal for removing tough rust and old paint from metal surfaces. Use silica-free sand to reduce health risks. Dusty and less eco-friendly. Note: crystalline silica sand is prohibited for abrasive blasting in many countries (including EU and UK) due to silicosis risk.
- Baking soda: Gentle and eco-friendly, perfect for delicate surfaces like wood or for removing paint, grease, and graffiti without damaging the substrate.
- Glass beads: Smooth, round particles that clean without roughening surfaces, often used for polishing metal or delicate parts.
- Walnut shells: Soft, natural abrasive that cleans without damage; commonly used in automotive and restoration work.
- Garnet: Aggressive cleaning power with less dust than sand, suitable for metal, wood, and masonry.
- Aluminum oxide: Effective at removing paint and rust from metal, with good cutting ability.
- Eco-Friendly options: Plant-based or recycled abrasives designed to clean effectively while minimizing environmental impact.
Additional accessories
- Pressure washer nozzles: Size and shape affect spray width and strength. Experiment with configurations for the best results.
- Pressure washer telescoping wand: Reach high or hard-to-access areas safely.
- pressure surface cleaners: Efficient for cleaning large, flat surfaces.
- Pressure washer rotating brush: Agitate and loosen stubborn stains and debris before sandblasting.
Safety precautions for using pressure washer sandblasters
Personal protective equipment (PPE)
Always wear a full face shield, NIOSH-approved respirator, earplugs or earmuffs, gloves, and protective clothing.
Preparing the workspace
- Ventilation: Work in a well-ventilated area to reduce dust exposure. Use exhaust fans or ventilation systems indoors.
- Protect nearby surfaces: Cover furniture, vehicles, or other objects with tarps or plastic sheets to prevent damage from overspray.
- Remove obstacles: Clear trip hazards and loose objects to maintain a safe, organized workspace.
Surface preparation
- Clean the surface: Remove loose debris, dust, or contaminants with a broom, brush, or compressed air.
- Pre-treat heavy contamination: Use a cleaner or degreaser on greasy or oily surfaces to improve abrasive adhesion.
- Inspect for damage: Repair cracks, loose material, or defects to ensure uniform cleaning.
How to set up and assemble a pressure washer sandblaster: step-by-step guide
Assemble the sandblaster attachment
- Connect to the pressure washer: Attach the pressure washer sandblaster’s water inlet to the high-pressure outlet using quick-connect or threaded fittings — compatible with standard M22 and 1/4″ quick-connect fittings. Use plumber’s tape on threaded joints to ensure a leak-free seal.
- Attach the abrasive hose: Connect the feed hose from the hopper or container to the sandblaster’s mixing chamber.

Load the abrasive media
- Fill the hopper: Start about 2/3 full to allow proper flow and prevent clogs.
- Prevent blockages: Ensure the abrasive is free of moisture or lumps; sift if necessary.
- Adjust flow: Set any adjustable valves to a low level initially, increasing flow once the system runs smoothly.
Prepare the water supply and pressure washer
- Connect to water: Use a clean, steady water source and turn on the supply before starting the pressure washer to protect the pump.
- Prepare the pressure washer: Verify engine/motor condition, fuel or power supply, and attach the high-pressure hose to the sandblaster.
Test the system before full use
- Run without abrasive: Turn on the pressure washer to flush the system and check for leaks.
- Inspect connections: Watch hoses and fittings for leaks; tighten as needed.
- Check water pressure and flow: Ensure the source meets the pressure washer’s requirements (minimum 2.5 GPM recommended).
Proper operating techniques for using a pressure washer sandblaster
Correct stance and handling
- Stand firmly: Keep feet shoulder-width apart for balance and control.
- Hold the spray gun with both hands: One hand on the trigger handle, the other supporting the front of the gun or hose for stability and reduced fatigue.
Optimal distance from surfaces
- Metal: 6–12 inches
- Concrete/Masonry: 12–18 inches
- Wood: 18–24 inches
Best angles and movement patterns
- Spray angle: Hold the nozzle at about 45° to the surface for effective cleaning without over-penetrating.
- Even sweeping motion: Move side to side or up and down in smooth, overlapping strokes. Avoid staying in one spot.
- Consistent speed: Maintain steady motion — not too fast to miss spots, not too slow to cause gouging.
Adjusting pressure and abrasive flow
- Test on a small area: Always start on a small, inconspicuous spot to assess abrasive flow and surface response.
- Start low: Begin with low-pressure and low-abrasive flow, gradually increasing as needed.
- Delicate surfaces: Use lower pressure and gentler abrasives like baking soda or walnut shells.
- Heavy-duty surfaces: Use higher pressure and a more abrasive setting for thick paint, rust, or concrete buildup.
Surface-specific tips
- Metal: Moderate pressure and abrasive; avoid holding the nozzle too close.
- Concrete: Higher pressure and abrasive; keep the nozzle moving steadily.
- Wood: Low pressure with gentle abrasives; sweep quickly to protect the grain.
Supervision and adjustment
Monitor progress continuously and inspect surfaces periodically. Adjust pressure, nozzle distance, and technique to ensure uniform cleaning and prevent overblasting. Watch for signs of surface damage such as excessive abrasion, etching, or roughness.
Cleaning after sandblasting
- Rinse the surface thoroughly with clean water to remove remaining abrasive, debris, and contaminants.
- Use a wide spray pattern to ensure all particles are removed.
- Dispose of used abrasive responsibly according to local regulations.

Conclusion
Used correctly, pressure washer sandblasters handle the full spectrum of surface preparation tasks — from rust removal on automotive panels to paint stripping on concrete facades — delivering professional results at a fraction of the cost of dedicated blasting equipment. By following the guidelines in this comprehensive guide — from selecting the right equipment and abrasive to proper operation, maintenance, and troubleshooting — you can confidently tackle a wide range of cleaning projects, including automotive surfaces, masonry, and industrial equipment.
If you are looking to add high-performance pressure washer sandblasters to your product lineup, Elerein invites you to partner with us. As a trusted supplier of pressure washer sandblaster and pressure washer, Elerein subjects all its products to rigorous field testing and secures authoritative international certifications, ensuring they are fully capable of confidently handling even the most demanding cleaning and sandblasting tasks. Contact our wholesale team today to request a product catalog and dealer pricing sheet.
FAQs about use a pressure washer sandblaster
- Abrasive hopper too full or empty: Keep the hopper about 2/3 full for smooth flow.
- Moisture in abrasive: Use dry, clean abrasive and sift before loading.
- Blocked feed valve or nozzle: Clean debris from the feed valve and nozzle.
- Incorrect feed valve setting: Start with a low setting and gradually increase to achieve even flow.
Stop the sandblasting process immediately and turn off the pressure washer. Disconnect the sandblasting attachment and carefully clean the nozzle with an appropriate tool or compressed air. Avoid forcing the nozzle, as this can damage the equipment. Once clean, reattach the sandblaster and resume work safely.